How to Create Stamps for your Artwork with Your Own Signature or Watermark in Photoshop
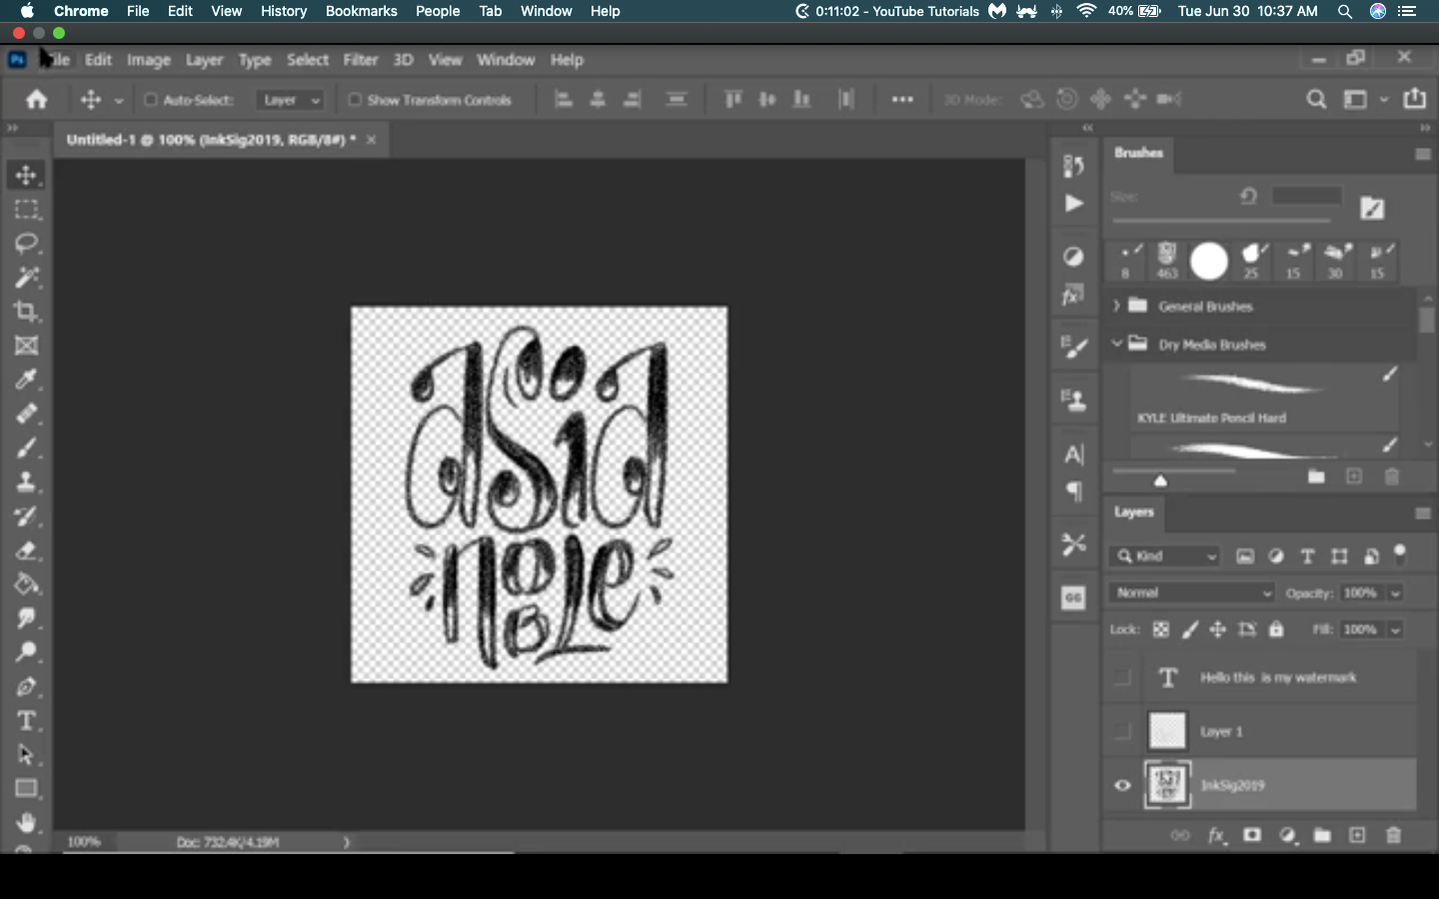
June 30, 2020Create a new document. Normally I like to create my stamps with a 1:1 ratio, 800x800 at 72 dpi. You can always go higher, but note that your stamp, compared to your artwork, should be a lot smaller.
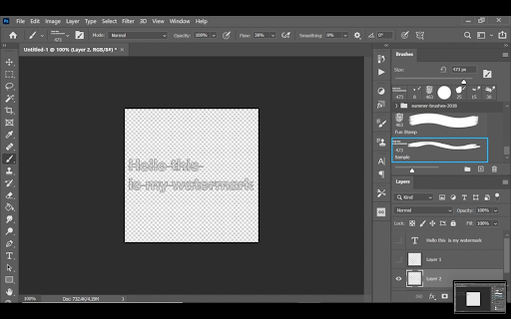
Create a new layer to draw on.
You can choose to go about it a few ways:
a. draw or write your own signature on this layer
b. type out your name or whatever information you’d like to use on this layer
c. load your logo/watermark into the document and crop or resize it to fit
*If you choose either a or c, then make sure you are drawing/typing on a new layer, and that you see the checkerboard background
If you choose b, make sure your logo has a transparent background
Convert Your Layer Into a Brush
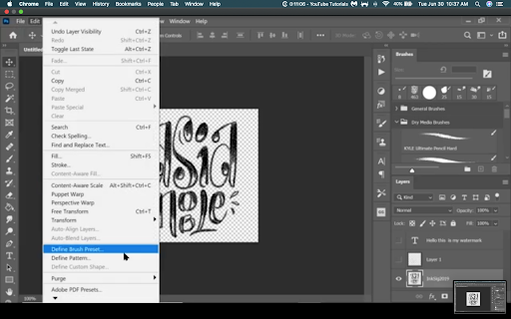
Highlight the layer that your stamp is on.
If you are typing out your stamp, make sure to rasterize that layer before the next step.
If you chose to load a smart object, logo file, etc to use as a stamp, make sure to rasterize the layer as well.
Hover over the navigation bar on top, Click Edit > Define Brush Preset
You’ll see that whatever is already on the layer that you have selected, can become a brush.
You’ll see a pop-up that says Brush Name.
Rename the brush to whatever you want and click OK.
On the brushes window on the right panel, you can see the kind of brushes you have.
Select the Brush Tip view.
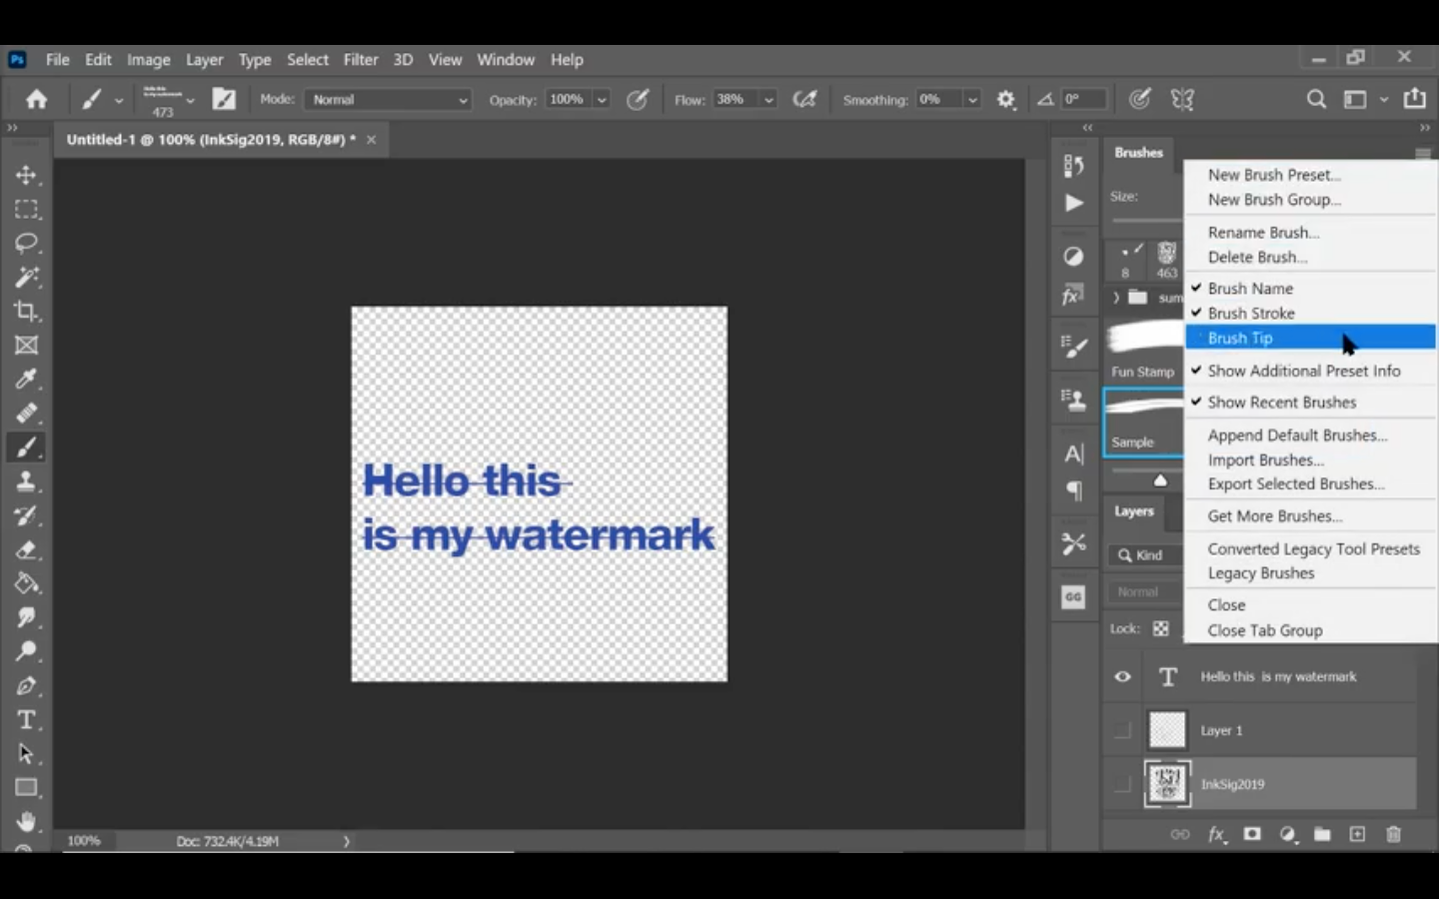
You’ll see the thumbnail pop up on the left side of the brush stroke.
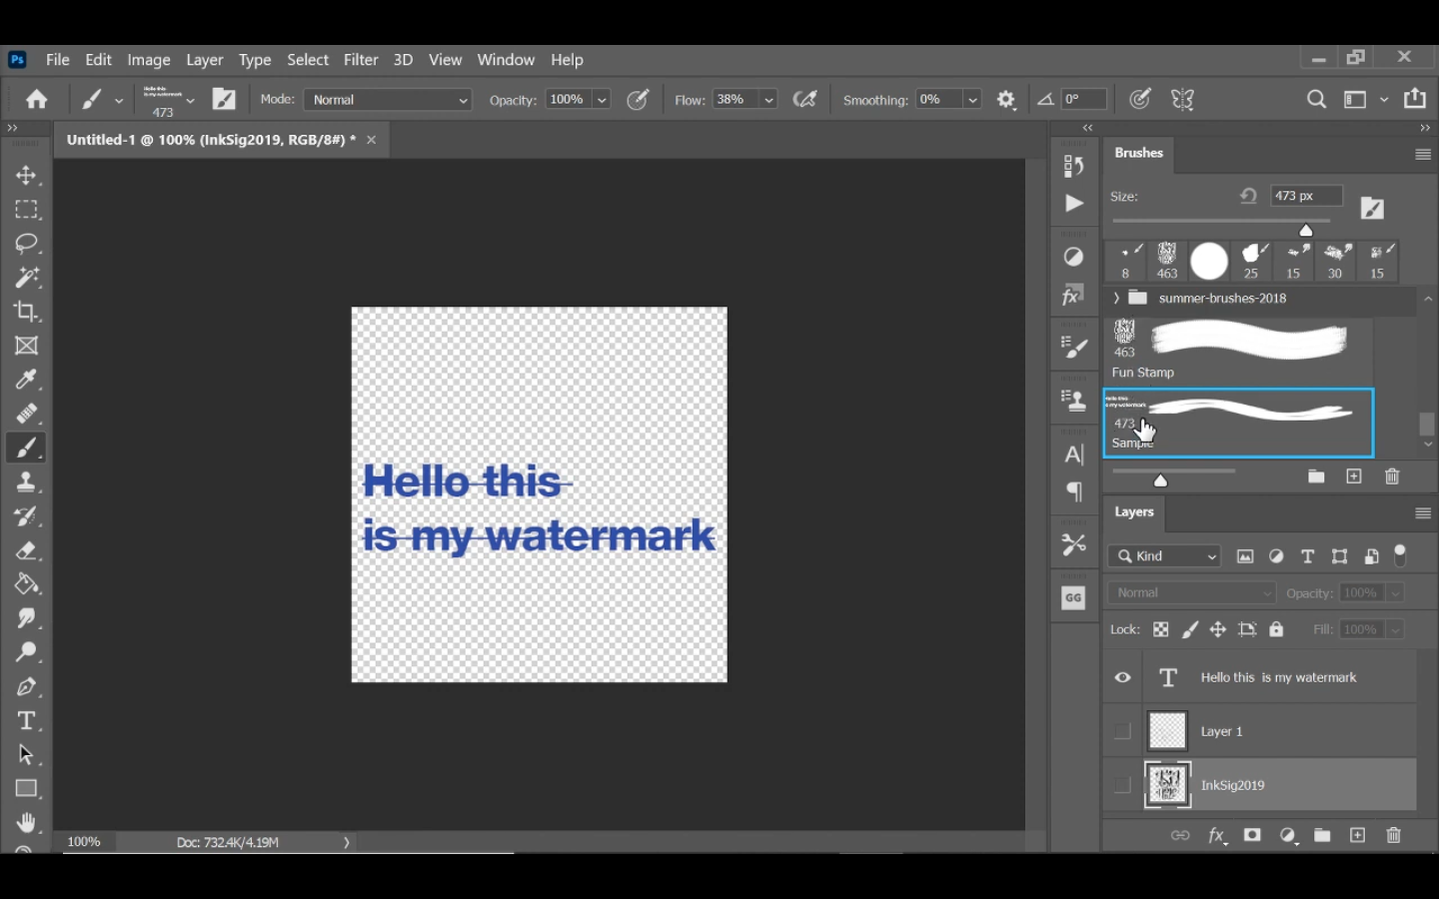
To test out the brush, make sure you’re on the brush tool you just created and select the brush for your watermark. You can now adjust the size of the stamp as you need.

Hover over the canvas and click to stamp the brush.
Make sure that your flow, opacity, and whatever brush settings are set to 100% for a crisp outline of your stamp.
This is also available as a video walkthrough on my Youtube channel!